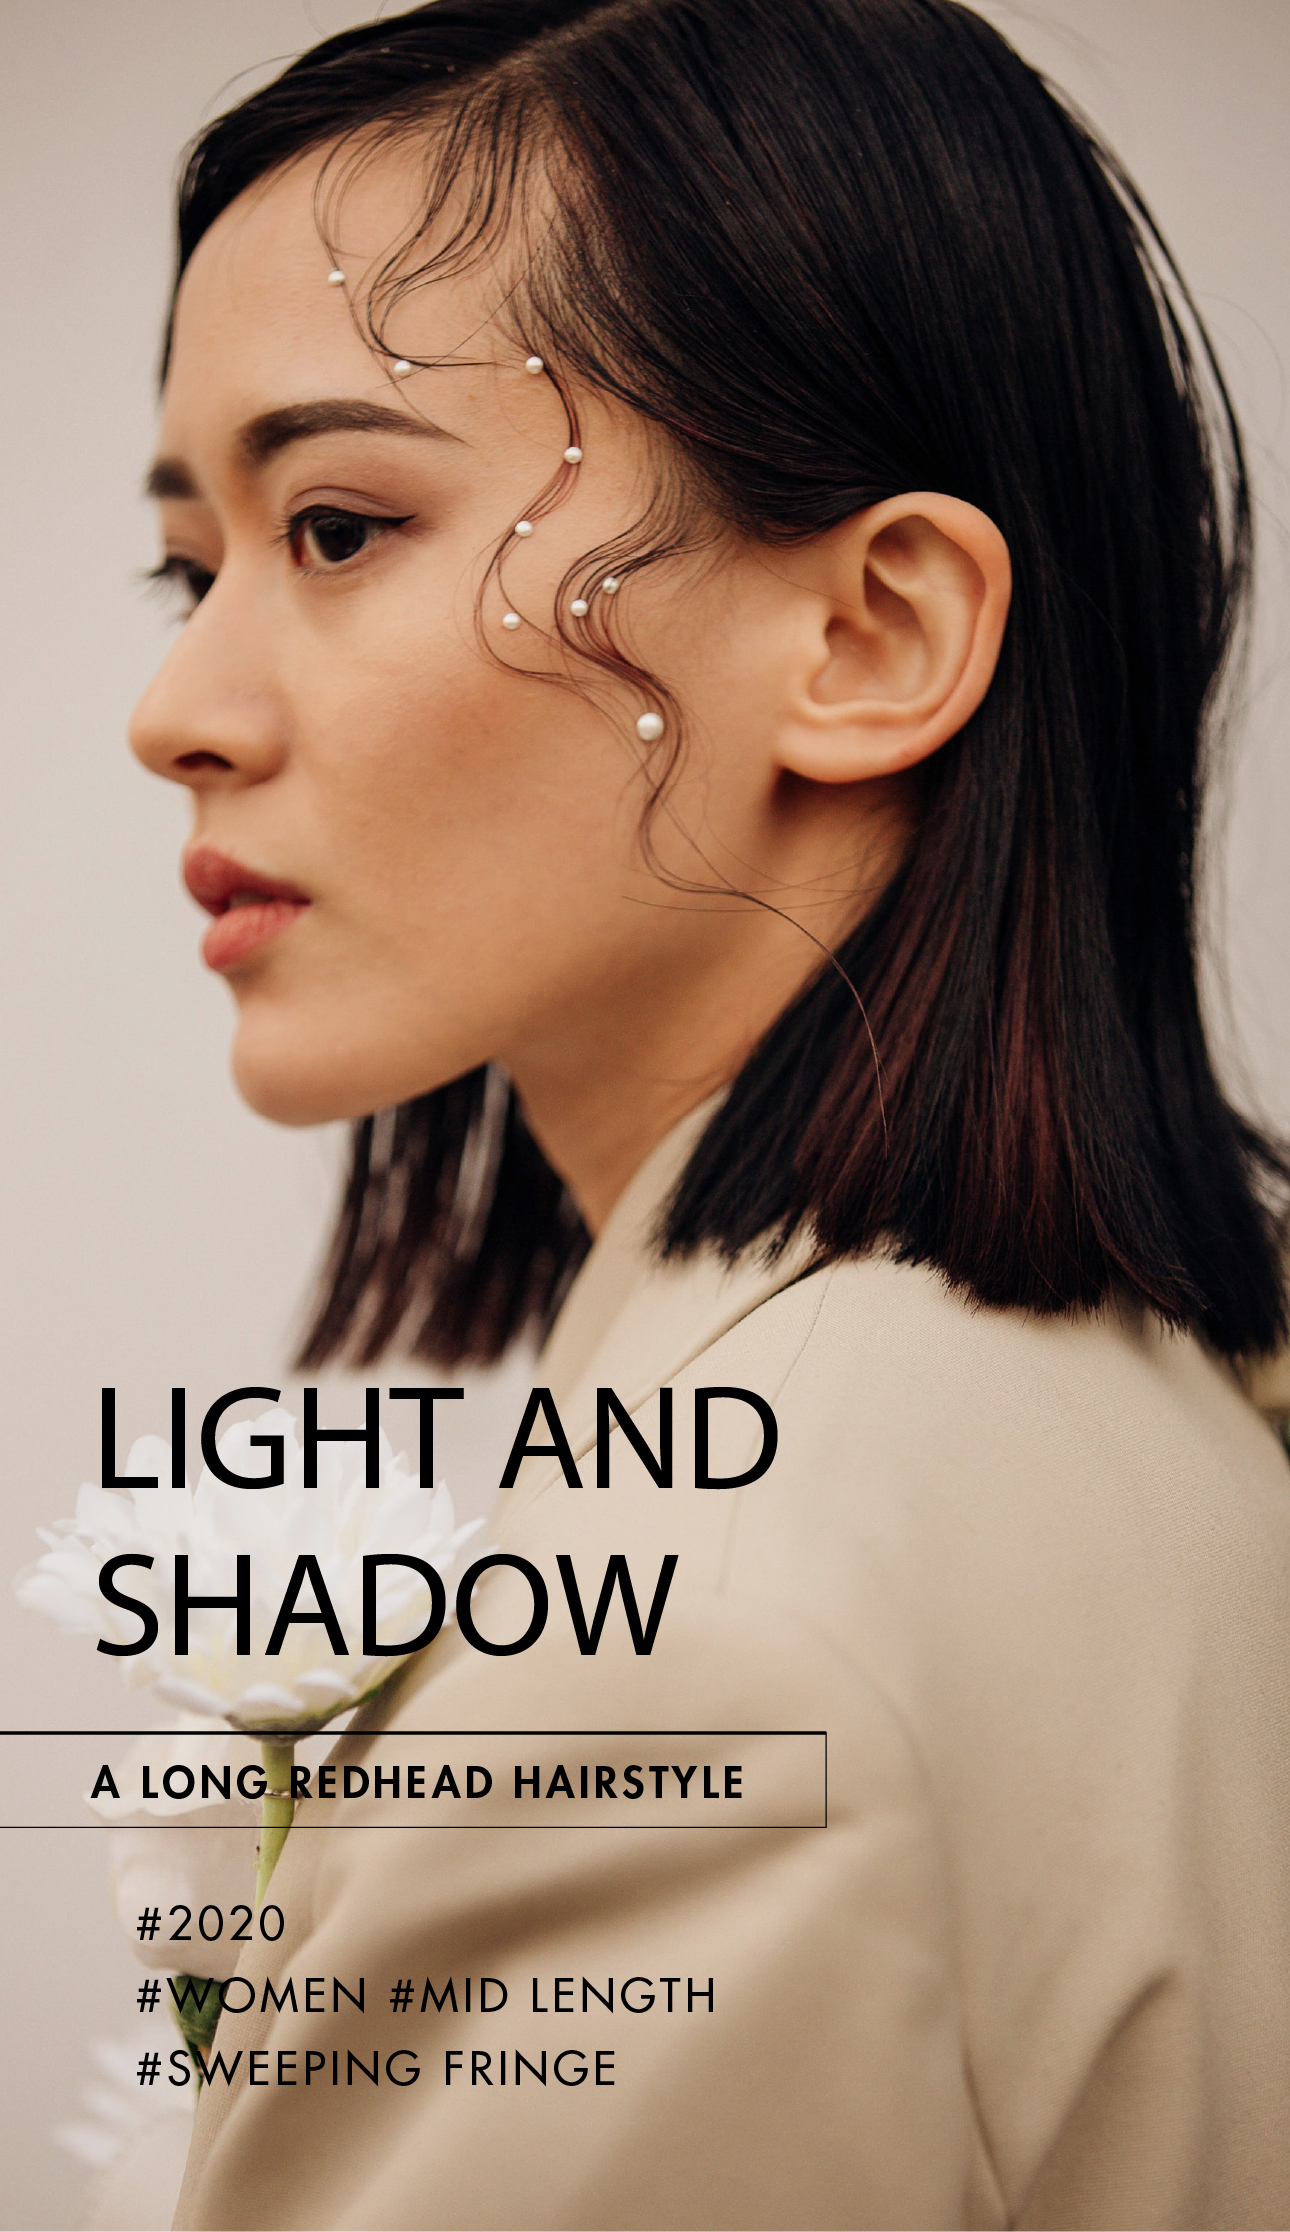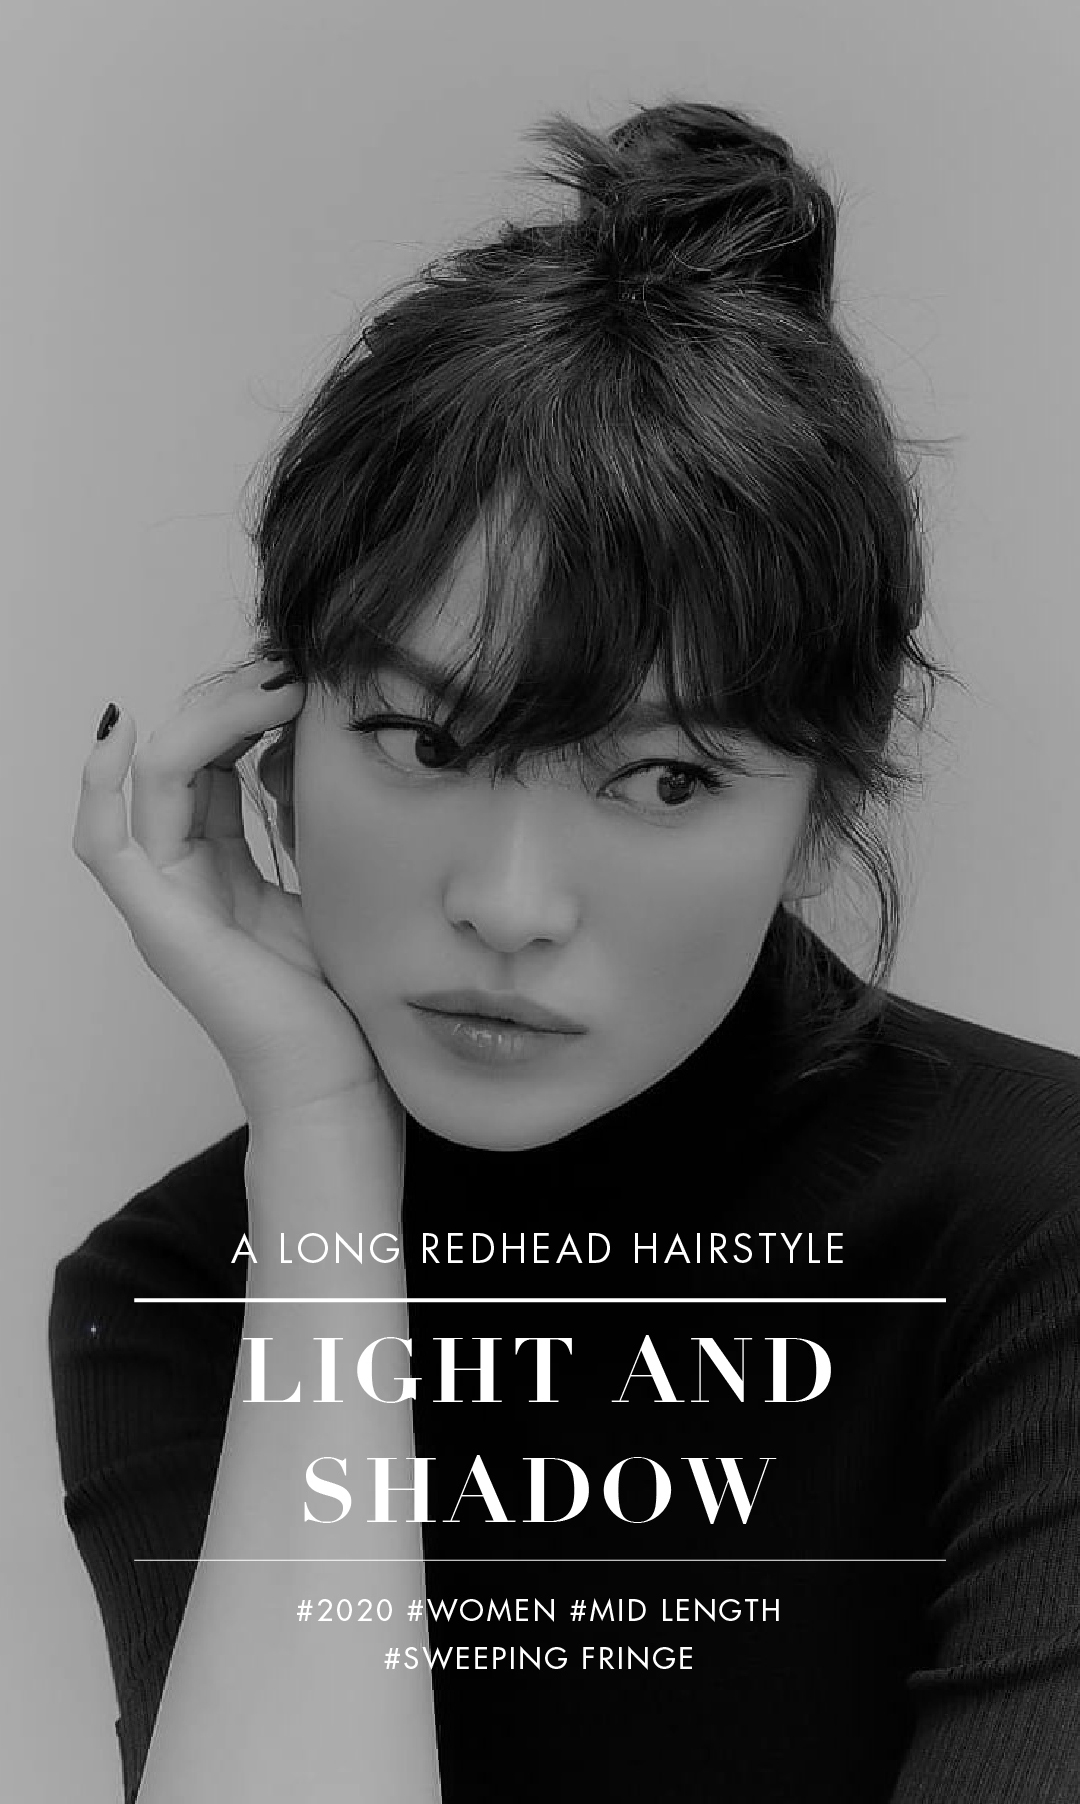
THE LANGUAGE OF HAIR 髮的語言 造型分解
INTRODUCTION
THE LANGUAGE OF HAIR 髮的語言 BY Camille 造型分解
INTRODUCTION
THE LANGUAGE OF HAIR 髮的語言 BY Camille 造型分解
Hairstyle by
Salon
Photographer
Make Up
Stylist
Remarks
<p><br /><img src="assets/uploads/files/2011/80/66/%E6%AD%A5%E9%A9%9F1_resized.jpg?1612161973302" alt="步驟1_resized" /> <br />步驟一:中心分線,由後部點到耳後點順頭圓分線。順頭型將兩點連接,呈現弧線分區。Begin at the center at the occipital bone to behind the ear.</p>
<p><br /><img src="assets/uploads/files/2011/80/66/%E6%AD%A5%E9%A9%9F2_resized.jpg?1612161993359" alt="步驟2_resized" /></p>
<p>步驟二:垂直拉髮片利用削刀剪出上短下長的層次,以此為基準線。Take a vertical section straight out from the center and cut a concave layer from shorter to longer, maintaining the perimeter length.</p>
<p><br /><img src="assets/uploads/files/2011/80/66/%E6%AD%A5%E9%A9%9F3_resized.jpg?1612162006517" alt="步驟3_resized" /></p>
<p>步驟三:以基準線為準,逐步提拉髮片,利用削刀進行移動式剪裁,後部三角分區先保留不剪。Using vertical sections, cut from shorter to longer and overdirect slightly, towards the center, to keep the length behind the ear.</p>
<p><br /><img src="assets/uploads/files/2011/80/66/%E6%AD%A5%E9%A9%9F4_resized.jpg?1612162018224" alt="步驟4_resized" /></p>
<p>步驟四:相同的剪裁延續到右耳後部區。Continue using vertical sections cutting from shorter to longer, slide fingers to maintain length behind the ear.</p>
<p><br /><img src="assets/uploads/files/2011/80/66/%E6%AD%A5%E9%A9%9F5_resized.jpg?1612162045647" alt="步驟5_resized" /> </p>
<p>步驟五:前側點到黃金點連線分區,角度提拉與基準線連結。Expand the section starting in the crown moving towards the hairline. Use the hair from the bottom as the guideline. Connect throughout following the head shape.</p>
<p><br /><img src="assets/uploads/files/2011/80/66/%E6%AD%A5%E9%A9%9F6_resized.jpg?1612162071430" alt="步驟6_resized" /> </p>
<p>步驟六:依基準線作移動,到耳點位置時略往後拉,做髮片連接。The nape is cut concave-use the previous shorter pieces to connect through the crown.</p>
<p> </p>
<p><img src="assets/uploads/files/2011/80/66/%E6%AD%A5%E9%A9%9F7_resized.jpg?1612162084797" alt="步驟7_resized" /></p>
<p>步驟七:保留一區不連接區,可做變化。Clip the disconnection away.</p>
<p><br /><img src="assets/uploads/files/2011/80/66/%E6%AD%A5%E9%A9%9F8_resized.jpg?1612162095342" alt="步驟8_resized" /></p>
<p>步驟八:前部區做線條連接。Using the guide from behind the disconnection, connect throughout while maintaining the length through the perimeter.</p>
<p> </p>
<p><img src="assets/uploads/files/2011/80/66/%E6%AD%A5%E9%A9%9F9_resized.jpg?1612162112333" alt="步驟9_resized" /></p>
<p>步驟九:頂部區做鉅齒剪髮創造空間感,但不影響髮片長度 。On the top, pull the hair straight out from the head and point cut-be sure to always close the scissors on the way out.</p>
<p><br /><img src="assets/uploads/files/2011/80/66/%E6%AD%A5%E9%A9%9F10_resized.jpg?1612162127023" alt="步驟10_resized" /> </p>
<p>步驟十:利用滑剪讓髮型更加有髮束感。After the hair is dry, continue to refine the shape using a slicing technique with your scissors.</p>
RELATED COLLECTIONS