INTRODUCTION
Hairstyle by
Salon
Photographer
Make Up
Stylist
Remarks
<p><img src="assets/uploads/files/2012/91/50/sassoon_june_11_0047.jpeg?1612235757778" alt="sassoon_june_11_0047" /></p>
<p>步驟一:左後區枕骨以下用推剪與右面圓形堆積不連接。Below the occipital bone, scissor over comb on the left side, disconnect from the round graduation on the right side.</p>
<p><br /><img src="assets/uploads/files/2012/91/50/sassoon_june_11_0048.jpeg?1612235883670" alt="sassoon_june_11_0048" /> </p>
<p>步驟二:連接推剪區塊,使用水準分區,角度慢慢提升做堆積重量。Continue the scissor over comb, keeping elevating each section a bit higher but stay in graduation with horizontal section.</p>
<p><br /><img src="assets/uploads/files/2012/91/50/sassoon_june_11_0055.jpeg?1612235930519" alt="sassoon_june_11_0055" /> </p>
<p>步驟三:以後區堆積重量為引,斜向前分區剪三角形堆積。Use graduation from the back as a guild, cutting triangular graduation by taking the diagonal forward section.</p>
<p><br /><img src="assets/uploads/files/2012/91/50/sassoon_june_11_0062.jpeg?1612235950022" alt="sassoon_june_11_0062" /> </p>
<p>步驟四:以後區長度做引導線,在頭頂建立方形取出重量。Create a square layer on top, the guideline is the length from the back area.</p>
<p><br /><img src="assets/uploads/files/2012/91/50/sassoon_june_11_0065.jpeg?1612235963625" alt="sassoon_june_11_0065" /> </p>
<p>步驟五:另起引導線,另外一邊用反頭型去除重量,保留劉海一邊的長度。Start a new guideline, keep the fringe length by concave layer.</p>
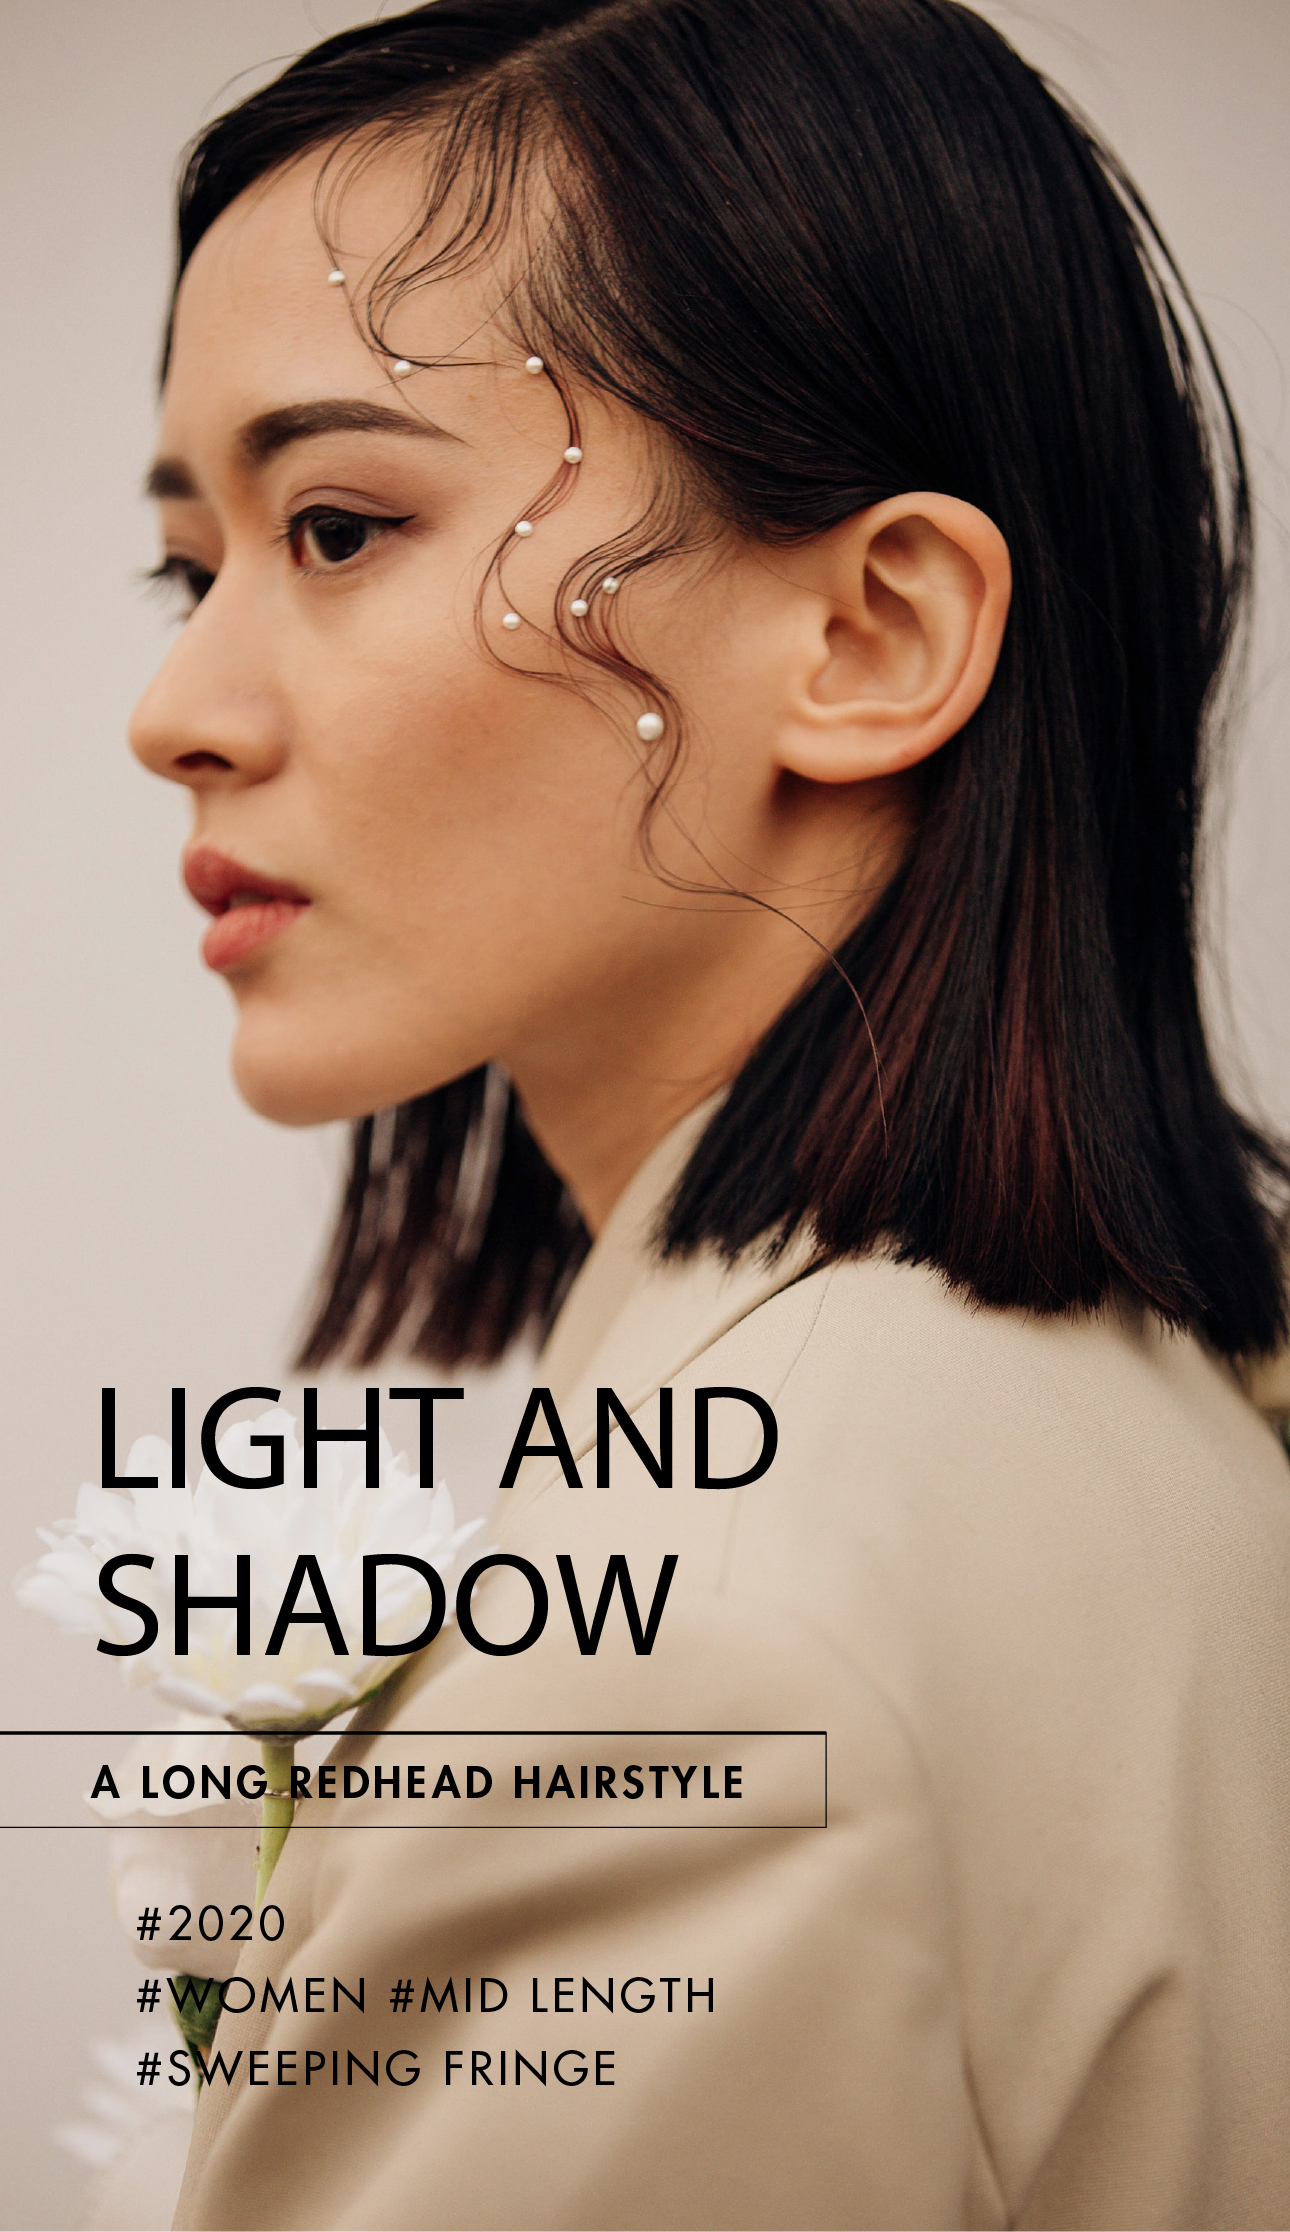
<p><br /><img src="assets/uploads/files/2012/91/50/%E5%B0%81%E9%9D%A2.jpg?1612235978428" alt="封面" /> </p>
<p>步驟六:在自然垂落狀態修剪斜的劉海。Comb the hair into natural fall, cut fringe at an angle.</p>
<p>步驟一:左後區枕骨以下用推剪與右面圓形堆積不連接。Below the occipital bone, scissor over comb on the left side, disconnect from the round graduation on the right side.</p>
<p><br /><img src="assets/uploads/files/2012/91/50/sassoon_june_11_0048.jpeg?1612235883670" alt="sassoon_june_11_0048" /> </p>
<p>步驟二:連接推剪區塊,使用水準分區,角度慢慢提升做堆積重量。Continue the scissor over comb, keeping elevating each section a bit higher but stay in graduation with horizontal section.</p>
<p><br /><img src="assets/uploads/files/2012/91/50/sassoon_june_11_0055.jpeg?1612235930519" alt="sassoon_june_11_0055" /> </p>
<p>步驟三:以後區堆積重量為引,斜向前分區剪三角形堆積。Use graduation from the back as a guild, cutting triangular graduation by taking the diagonal forward section.</p>
<p><br /><img src="assets/uploads/files/2012/91/50/sassoon_june_11_0062.jpeg?1612235950022" alt="sassoon_june_11_0062" /> </p>
<p>步驟四:以後區長度做引導線,在頭頂建立方形取出重量。Create a square layer on top, the guideline is the length from the back area.</p>
<p><br /><img src="assets/uploads/files/2012/91/50/sassoon_june_11_0065.jpeg?1612235963625" alt="sassoon_june_11_0065" /> </p>
<p>步驟五:另起引導線,另外一邊用反頭型去除重量,保留劉海一邊的長度。Start a new guideline, keep the fringe length by concave layer.</p>
<p><br /><img src="assets/uploads/files/2012/91/50/%E5%B0%81%E9%9D%A2.jpg?1612235978428" alt="封面" /> </p>
<p>步驟六:在自然垂落狀態修剪斜的劉海。Comb the hair into natural fall, cut fringe at an angle.</p>
RELATED COLLECTIONS